


Hello Everyone,
We all love distress inks and the beautiful results we get due to its blending properties. It is totally worth to buy the vibrant shades of distress ink or any water based inks as their usage is multiple. However, in order to get those beautifully blended shades, we need to buy those expensive ink-blending tools as well. More the number of inks, more the number of replacement pads you need. And well! technically its just extra expenditure...(Not that they are bad, just plainly expensive!!)
I had seen the ink blending tool and I am sure all those who have seen it must have noticed that it is not a very complicated or complex tool. In fact it is made of a very simple phenomenon. And so I decided to do a bit of research as to what options can we have to make this tool without spending a good deal of money on it.
So I went to ask my best friend, i.e Google (world's best friend :P) and spent a couple of hours researching about the options. There are many many ways and methods of making your own ink blending tools spread over youtube, websites, blogs etc however, after much experimenting with different mediums I have discovered the most comfortable, easy and extremely cheap method of making your own ink blending tools.
Here is how I started-
 Material required -
Cosmetic sponge (Any shape or size) - Available at any shop selling cosmetic/ toiletries
Foam tape
Scissors
In order to stick the cosmetic sponge and to make the 'handle' of the tool, you can experiment with things lying around the house, such as old nail polish bottles with a wide base, An old fashioned stamp, Kid's playing wooden blocks etc.
Distress Ink or any water based ink
Method-
To start with, I have used wooden blocks as 'handle' of my ink blending tool as I found them here very cheap. They were found in the DIY section and are used to make toys. For $2 I got about 20 blocks but you can use anything.
Since my cosmetic foam sponge is bigger in size I cut it into half.
 Take the foam tape and cover one side of the block fully.
 Stick the piece of the cosmetic foam on the tape side and trim of the excess using a pair of scissors.

 Make as many as you like. One sponge gave me 2 parts so I made 2.
 Thats it!!
Your ink blending tool is ready..Now its time to play around a bit. I made 2 scrap portions of white card into tags using this very tool and distress ink and thats how they came out to be-

 (Sorry about the bad quality pictures. My hubby had taken the digicam with him and I did not want to wait another time to make this tutorial so just took pictures using my phone..:P)
Well, I am totally new at distressing/ ink blending and my results are far from perfect. But it served my purpose and I am very happy about it.
Hope it helps you too. :)
Please do let me know what you think about this tutorial. Your comments are always appreciated. :) :)
Much Love,
Just Love Crafts xx
We all love distress inks and the beautiful results we get due to its blending properties. It is totally worth to buy the vibrant shades of distress ink or any water based inks as their usage is multiple. However, in order to get those beautifully blended shades, we need to buy those expensive ink-blending tools as well. More the number of inks, more the number of replacement pads you need. And well! technically its just extra expenditure...(Not that they are bad, just plainly expensive!!)
I had seen the ink blending tool and I am sure all those who have seen it must have noticed that it is not a very complicated or complex tool. In fact it is made of a very simple phenomenon. And so I decided to do a bit of research as to what options can we have to make this tool without spending a good deal of money on it.
So I went to ask my best friend, i.e Google (world's best friend :P) and spent a couple of hours researching about the options. There are many many ways and methods of making your own ink blending tools spread over youtube, websites, blogs etc however, after much experimenting with different mediums I have discovered the most comfortable, easy and extremely cheap method of making your own ink blending tools.
Here is how I started-

Cosmetic sponge (Any shape or size) - Available at any shop selling cosmetic/ toiletries
Foam tape
Scissors
In order to stick the cosmetic sponge and to make the 'handle' of the tool, you can experiment with things lying around the house, such as old nail polish bottles with a wide base, An old fashioned stamp, Kid's playing wooden blocks etc.
Distress Ink or any water based ink
Method-
To start with, I have used wooden blocks as 'handle' of my ink blending tool as I found them here very cheap. They were found in the DIY section and are used to make toys. For $2 I got about 20 blocks but you can use anything.
Since my cosmetic foam sponge is bigger in size I cut it into half.


Your ink blending tool is ready..Now its time to play around a bit. I made 2 scrap portions of white card into tags using this very tool and distress ink and thats how they came out to be-
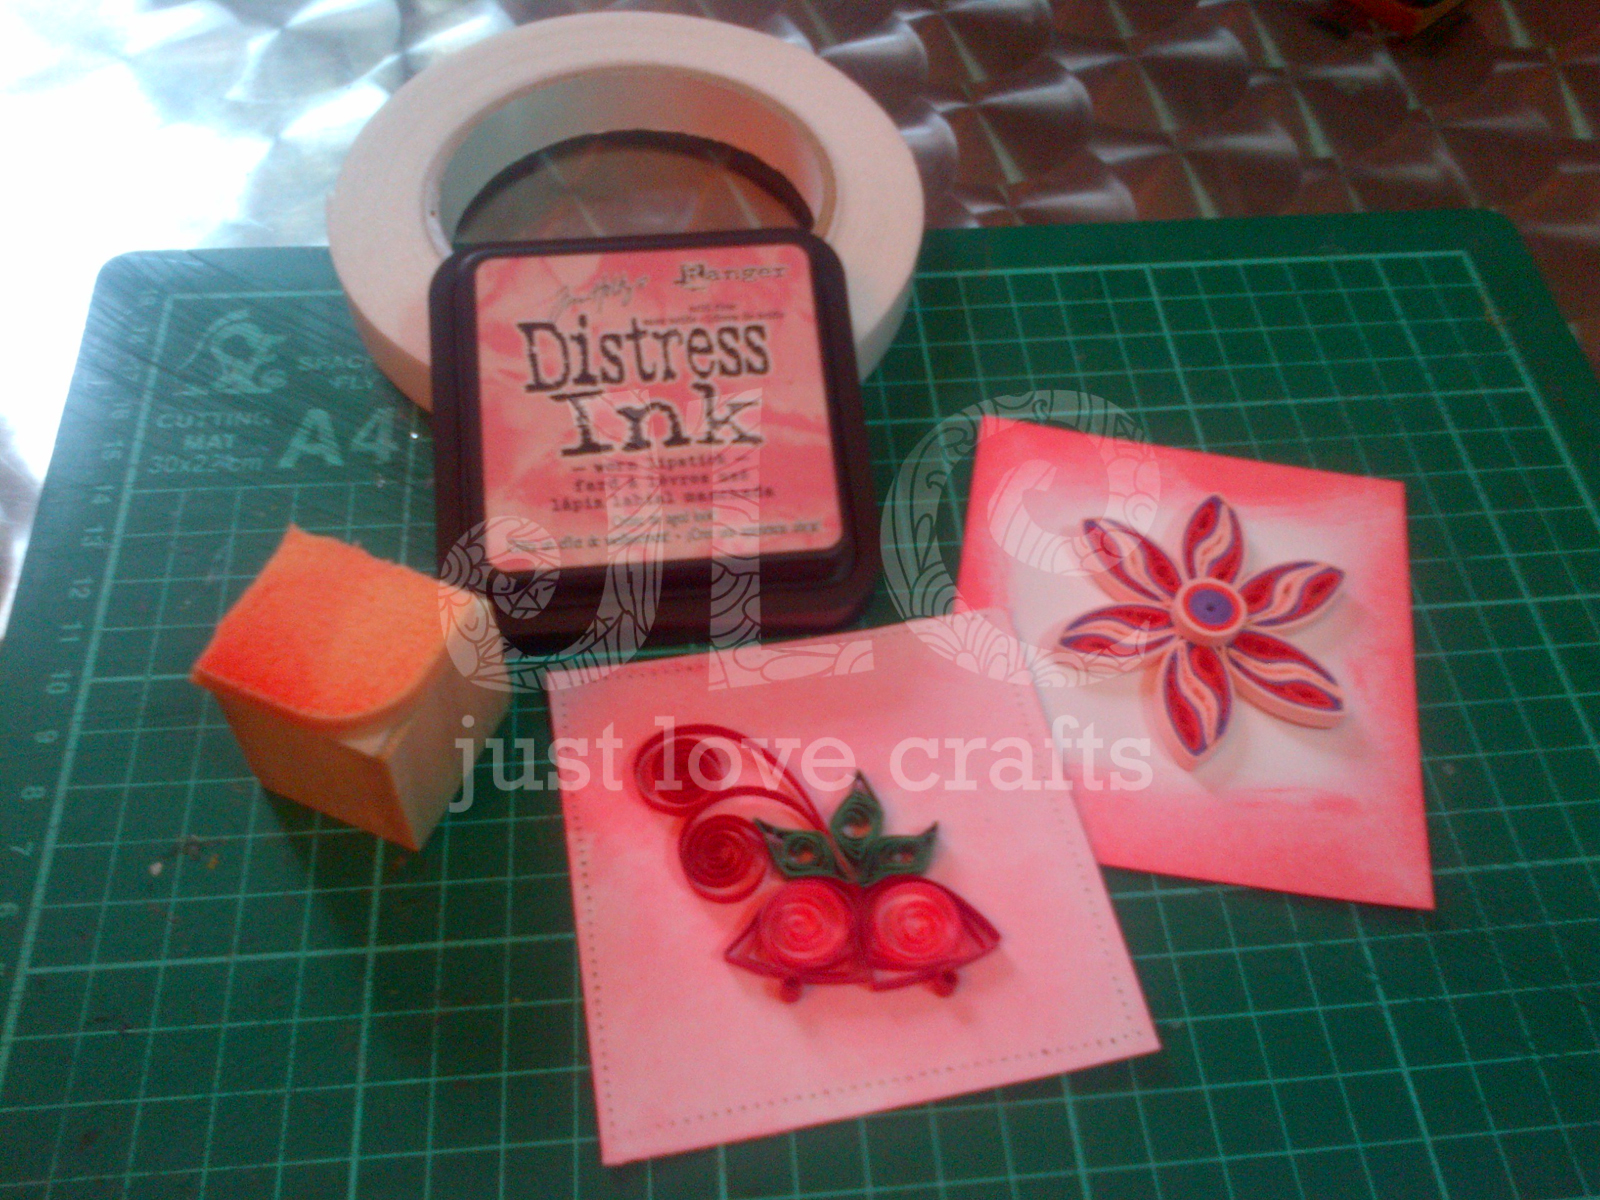

Well, I am totally new at distressing/ ink blending and my results are far from perfect. But it served my purpose and I am very happy about it.
Hope it helps you too. :)
Please do let me know what you think about this tutorial. Your comments are always appreciated. :) :)
Much Love,
Just Love Crafts xx


 Posts
Posts


