
skip to main
|
skip to sidebar
Hello Everyone,
We all love distress inks and the beautiful results we get due to its blending properties. It is totally worth to buy the vibrant shades of distress ink or any water based inks as their usage is multiple. However, in order to get those beautifully blended shades, we need to buy those expensive ink-blending tools as well. More the number of inks, more the number of replacement pads you need. And well! technically its just extra expenditure...(Not that they are bad, just plainly expensive!!)
I had seen the ink blending tool and I am sure all those who have seen it must have noticed that it is not a very complicated or complex tool. In fact it is made of a very simple phenomenon. And so I decided to do a bit of research as to what options can we have to make this tool without spending a good deal of money on it.
So I went to ask my best friend, i.e Google (world's best friend :P) and spent a couple of hours researching about the options. There are many many ways and methods of making your own ink blending tools spread over youtube, websites, blogs etc however, after much experimenting with different mediums I have discovered the most comfortable, easy and extremely cheap method of making your own ink blending tools.
Here is how I started-
Material required -
Cosmetic sponge (Any shape or size) - Available at any shop selling cosmetic/ toiletries
Foam tape
Scissors
In order to stick the cosmetic sponge and to make the 'handle' of the tool, you can experiment with things lying around the house, such as old nail polish bottles with a wide base, An old fashioned stamp, Kid's playing wooden blocks etc.
Distress Ink or any water based ink
Method-
To start with, I have used wooden blocks as 'handle' of my ink blending tool as I found them here very cheap. They were found in the DIY section and are used to make toys. For $2 I got about 20 blocks but you can use anything.
Since my cosmetic foam sponge is bigger in size I cut it into half.
Take the foam tape and cover one side of the block fully.
Stick the piece of the cosmetic foam on the tape side and trim of the excess using a pair of scissors.
Make as many as you like. One sponge gave me 2 parts so I made 2.
Thats it!!
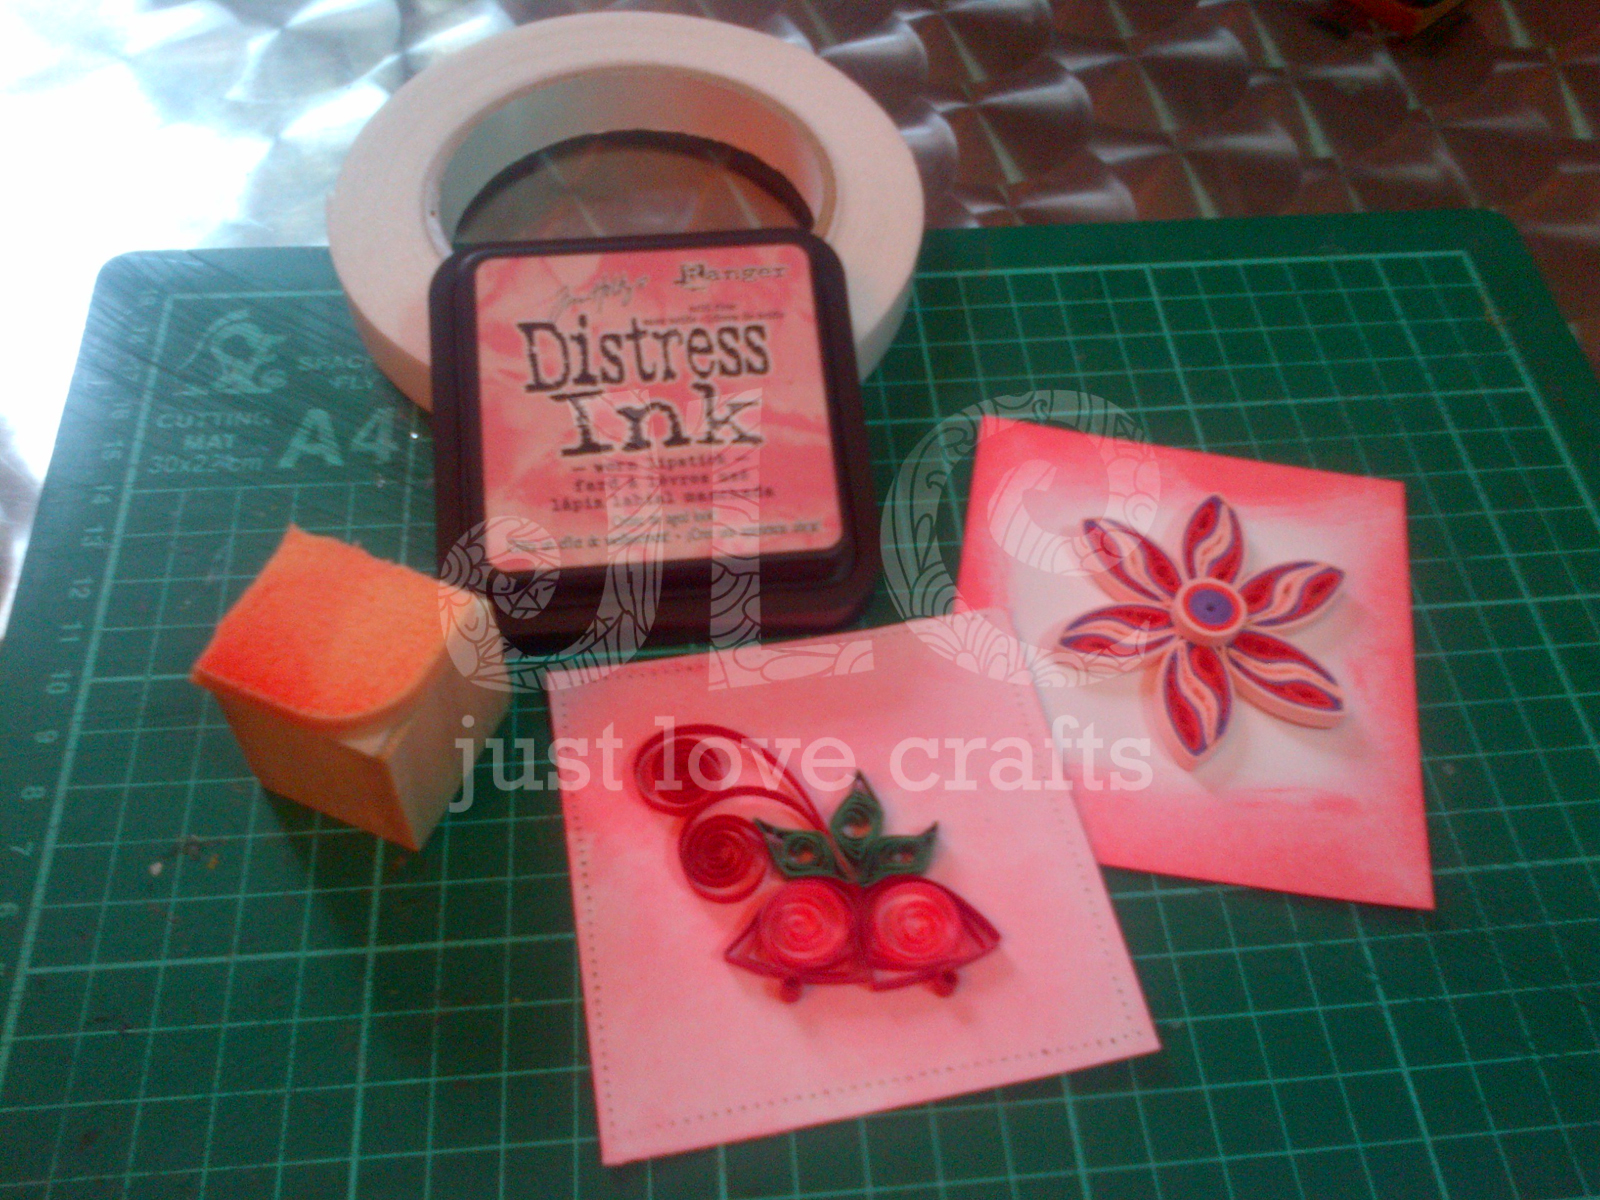
Your ink blending tool is ready..Now its time to play around a bit. I made 2 scrap portions of white card into tags using this very tool and distress ink and thats how they came out to be-
(Sorry about the bad quality pictures. My hubby had taken the digicam with him and I did not want to wait another time to make this tutorial so just took pictures using my phone..:P)
Well, I am totally new at distressing/ ink blending and my results are far from perfect. But it served my purpose and I am very happy about it.
Hope it helps you too. :)
Please do let me know what you think about this tutorial. Your comments are always appreciated. :) :)
Much Love,
Just Love Crafts xx
Hello,
This is something I made long time back, when I was in India waiting for my Singapore visa...This is a very simple but very efficient idea of making your own twine used in crafting. I was hunting online for best deals on twines (Baker's twine, Doodle twine or any brand) when I actually bumped into a tutorial which was on making your own twine. I saw the tutorial but didn't make it for a while. Much to my dismay that when I went back to search for the same tutorial I couldn't find it, but it was such a great idea that I had to share it with my crafty friends.
And hence I decided to make my own following that mystery tutorial..:)
You need very basic things to make your own crafting twine-
A spool of thick cotton thread,
An old wide ruler,
Scissors,
Permanent markers in assorted colors.
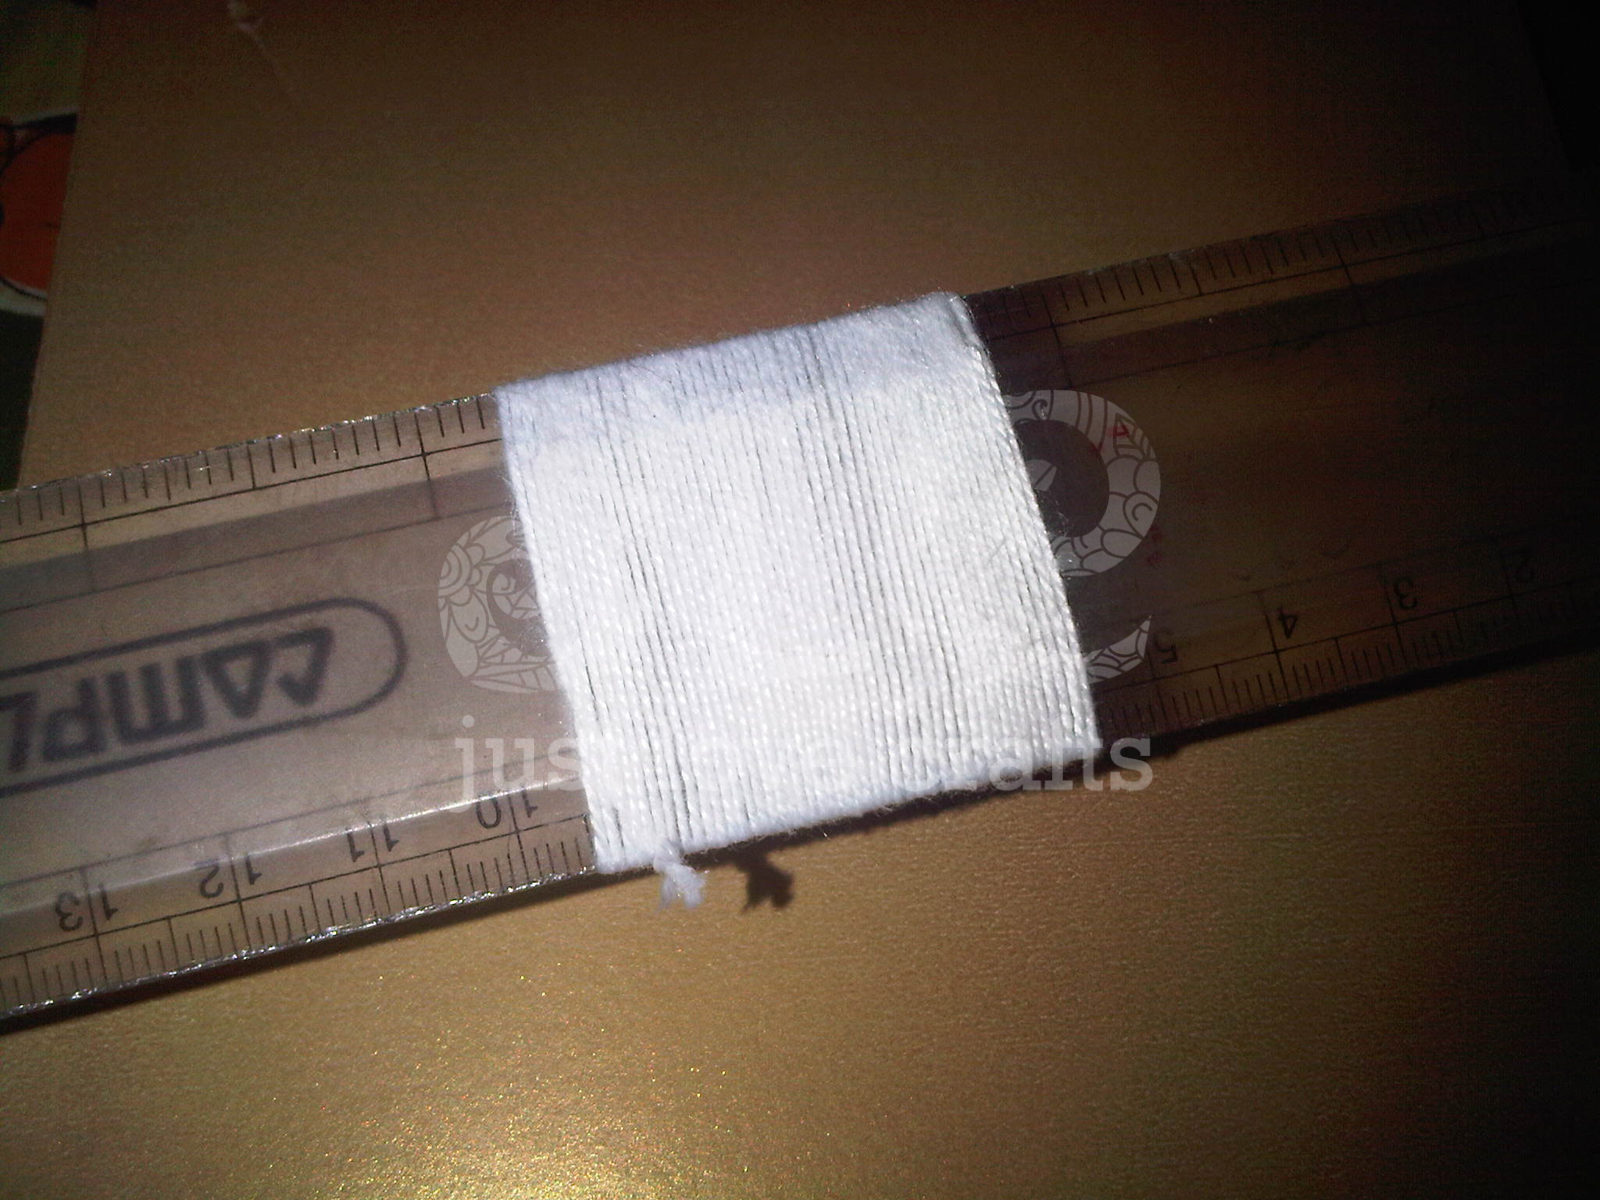
Measure a length of cotton thread (eg. 2 yards) or whatever length you need for your crafting project and cut it off. Wrap the whole thread tightly on an old ruler like this. Click on the picture to see closely.
After the thread is tightly secured on to the rules, take permanent marker of any color and start drawing lines diagonally (you can do straight as well but straight lines end up in diagonals anyway!). Make sure that that you make the lines with a slow and steady pace and allow enough time for the ink to penetrate the thread.
Make such lines on both sides. Keep it for a minute so that any wet ink will be soaked by the thread and the thread will be completely dried.
Start unrolling the thread slowly and see your handmade twine collecting in front of you.
I made it in two colors.
But unfortunately, before I could use it for any project, I got my visa and I started preparing for my departure. And in the rush of packing and reaching Singapore I left my twines in India only :( :(
Will collect them once I go back and will definitely use them for something.
But you can make it and use it for sure..This will specially help all the twine lovers. The whole spool hardly costs anything and all you need is a permanent marker in the color of your choice and you are good to go. :)
Please do let me know how you found this tutorial. Would love to get some reviews. :)
(Disclaimer- As previously mentioned, it is an inspired tutorial, NOT my brainchild. Did it for my crafty friends :) :))
Just Love Crafts xx
Hey Everyone,
Almost a month is gone. I guess I shouldn't get too happy about returning to my blog every time coz whenever I do that, blogging gets jinxed and I am not able to post at all..Not that I don't do crafting...I do and last month did quite a lot (~as per my speed and patience :P~) but have no idea what kept me from posting..Anyways...I'll straight get to the point and that is I made a quick and efficient earrings organizer..no rocket science...just something to help me find my earrings properly. The way my earrings were stored was a nightmare..Wanna see how it looked????
Have a look
Looks hideous!! Ain't it??
This picture was taken by my dearest hubby when while selecting a matching pair for my dress I accidently dropped the box on the floor and when I picked everything up (we all know how it is while you have to get ready, u r running late and your box of accessories falls on the floor!!!!) it was a nice entangled mess..
Hubby had quite a lot of fun mocking at the woman inefficiency of taking time to get ready coupled with such disasters and this picture was meant to be that mock reminder...
However, I didn't allow him much amusement as the very same evening I came up with this earrings organiser and he is quite happy that I could shut him up for this at least...:D :D :D
So over to the organiser..I save the cereal box cardboard by cutting the front and back biggest portion and discard the rest. I had few such lying with me..
I cut them off neatly by trimming off uneven edges and till I was left with neat rectangles. After that, I simply added these printed tapes on the border I had lying with me..I bought them in a stationery fair for really cheap...I guess a dollar or so for the whole set of 10 tapes...:D
After taping the borders, it looked nice, I didnt use a background paper or so as I wanted to keep the background plain so that my earrings stand out but you are free to decorate it as much as you like..I did't decorate either coz my earrings are embellishments in themselves.. lol..
Anyways, after reaching this step, I simply marked some lines with a ruler and made some holes using a compass and cork board and started placing my earrings as per their size...
After placing all the earrings, I just added small balls of blue tack at the back and placed them on a wall (blue tack doesn't spoil walls, so that's a bonus!!) next to my dressing table and its been more than a month and I have never had problems finding my earrings again..Plus it serves as quite a pretty wall art too...:D
I had fun making this, you can of course experiment in n number of ways and make sure your earrings are never lost or entangled again...:D
Let me know how it looks...Love all
Just Love Crafts xx
I am feeling soo proud today...And that's coz I have kept my promise...Promise of putting up crafty posts soon and here I am, in less than 24 hours...soo happy!! :P
Well, I so hope that I continue with this promise of mine and hopefully don't take a Loooooong gap like last time :(
Anyways, I can always blabber later..Let's come straight to the point.. This is a card I came up with 2-3 days back while fiddling with the strips. Its primarily made of only 3 colors (blue, pink and red). Well, no special reason, just that I have been able to shred only 3 colors so far and my table seemed to be full so I thought of using some before shredding a new color...
Have a look
This is the first time I have used 'Construction Paper' for Quilling. Actually, I didn't have much of a choice as this is the only kinds which is available for my purpose.. I like this paper, its like that though its only 110 gsm, I find it much harder to shred as all the ends do not come out fine. But guess, I am not in a complaining position as of now as even after trying I couldn't find anything apart from this, so I'll just stick to it..
A close up-
Now, The title says 'A new trick too' so here is the trick that I would like to share with all of you.
(Disclaimer- I am not sure if it's entirely new, it's just I haven't seen it before and the idea came to me out of sheer desperation!)
I wanted to 'raise' the level of the part that holds the sentiment and since I have literally just moved to Singapore I am lacking of all the essentials of crafting apart from the very basic ones.. So as expected I did not have the required foam tape which is generally used for such purposes. But I was soo desperate to finish the card that I had to raise the level of the sentiment strip by any means and Whoooshh!!! I saw my quilling strips lying right in front of me and I made 3 tight coils and stuck them to the back side of the sentiment card and placed the whole thing in its right position.
A closeup to show what I actually did..
This is the final outcome, and you can notice the raised part too easily..
I believe no one can actually make out the difference by just looking from the top that I have not used foam tape for it. In fact, I happen to notice one more benefit..
When quilled coils are used in place of foam tape, the 'raise' is more discreet and firm, as foam tape tends to squish due to its softness, where quilled coils are sturdy and keep the card in place..
*Caution- Make sure the paper which is being used for the 2-D effect (my sentiment card in this case!!) is thick and sturdy in itself, the pink base here is 140 gsm and on top of it i have stuck the same blue piece as the strip color which is of 110 gsm making the whole thing quite sturdy*
Well, I seem to totally love this card for its simplicity and freshness. Here is one last pic I would like to share..:D:D
If you like it, do lemme know. Your appreciation is my motivation.
Love all,
Just Love Crafts xx
Hello on the first day of the last month,
Today being the first day of December 2011, I am very sure lots of my peers in crafting are gonna get busier. Well, I won't deny myself that I am in a lot of holiday mood and that means lots of crafting and fun!!!!
So, I made this beautiful (I think I should let you guys decide that :P) butterfly..Well, I won't say its way too special but since its my first proper quilled butterfly it is special to me.. Not only it turned out all bright and cheery it was quite big than the size I had in my mind (and pattern too!!:P). Please have a look..
Now, this is my very first time when I executed the idea right from the beginning. Though it took a lot of time...compared to time taken normally by quillers but I am satisfied...
I would also like to share the Step-by-step pictorial instructions on how to make a butterfly like this...I am doing this as I searched a lot but could not really find proper step by step tutorial for the same. And so I thought of sharing one myself...
(I am not very good at things called tutorials but I had given my best shot at providing a pictorial as well as theoretical explanation...:))
1) The first step was to have a pattern in mind. Well, you dont have to be very strict for a pattern but it certainly helps you when u actually sit down and start quilling as otherwise a lot of confusion takes place (happens to me for sure!!) as to size of the coils, color scheme etc.
(Sorry! for the way pics came out coz of my impatience :oP)
I drew a very simple butterfly pattern on a small piece of tracing paper with an approximation of the size and roughly drew patterns on the wings keeping in mind the color scheme I wanted. Again, I would like to stress, you DON'T have to be strict about anything...I made a lot of changes while making the actual product myself...
2) The second step is to select a color scheme and allot colors to the pattern and the shapes you would like to use for the patterns. I selected bright orange and bright yellow color combination for my butterfly and used mainly simple quilling shapes (teardrop, half moon, tight coil to be precise).
I shaped a few coils first.
All of them are separate at the moment and pins are placed just to see how it will look like once glued.
I glued the ones I made and started adding more details. I outlined the whole wing with a red color strip to highlight the edges a bit (more noticeable in the final outcome.)
I kept it on my pattern after gluing the first wing and as you can notice, it is quite different from the pattern originally planned :P
3) After you are satisfied with one wing, the work gets easier. As the second wing is supposed to be exactly the same as the first (Again, no strict rules apply!). It took me no more than 10 minutes to finish this second wing as opposed to an hour for the first.
4) Design the lower wing. I followed on lines of upper wing only but kept it a bit smaller in dimension.
On the left are the total strips that took me to create one lower wing. On the right is one completed lower wing. Also, please note that I have used almost half the length of strip to make coils for lower wing compared to the length of the strips that I used to make coils for upper wing. This automatically made the lower wing smaller.
5) Finalize the design by placing on the board and with the help of pins their placement can be decided.
Also, notice the body and head of the butterfly. I used a crimped strip to roll the head and two normal strips to make the two-part body of the butterfly.
Also, I was stupid enough not to take care of the shape of the wings and hence, when I placed them, a gap was noticed.
6) Make the final adjustments. I inserted two tear drop shapes to cover the gap and also give strength to the overall structure. I also folded a brown strip which was used to make head and body in half to create the antennas. This is how it looked-
7) Glue everything together- Once you are happy with the placement, carefully glue everything together and let it stand for a few mins with the help of the pins. Then remove all the pins and your beautiful butterfly embellishment is ready to flutter! :D
Well, I hope you liked it. I am sure a lot of ways to use this pretty creature must have propped in mind as soon as you see it. A catchy fridge magnet!!, or a hanging ornament? How about a gift box topper or to put on a card to make a beautiful greeting card...its uses are endless.
I thoroughly enjoyed making this, hope you had fun looking too...
Have a great Day!!!
Just Love Crafts xx


 Material required -
  Take the foam tape and cover one side of the block fully.
 Stick the piece of the cosmetic foam on the tape side and trim of the excess using a pair of scissors.
 Make as many as you like. One sponge gave me 2 parts so I made 2.
 Thats it!!
 (Sorry about the bad quality pictures. My hubby had taken the digicam with him and I did not want to wait another time to make this tutorial so just took pictures using my phone..:P)






 Posts
Posts


