photo Logo_JLC_small_zps4cfd28fd.png

About Me

My Photo
I am a simple person believing in simplicities of life. I love crafting and experimenting all sort of crafts- some I succeed and some come out to be total disasters...:P but i still love them all. I attempt to share my creations and crafty knowledge with you all and hope you enjoy your stay at my blog. Love all, Hate none is my way of living. If you like my work and wanna talk about it, I can be reached at justlovecraftsblog(at)gmail.com xx

Won Itsy Bitsy Tricolor Challenge

Won Itsy Bitsy Tricolor Challenge
Showing posts with label Flower. Show all posts

Friday, August 31, 2012

Self Framed Shadow Box for Quilling - 2

Hello,

I hope you all remember my previous post about the framed shadow box for your precious quilled creations. For those who haven't seen it so far, you can find it here.

This is the second one in series I have prepared and is smaller than the other versions. 
Here it is - 
I have used an A4 size sheet to make the shadow box. The reason it appears smaller than the others is that the width of this frame is more than the other boxes I have made and is perfect to hold a pretty 3-D petal quilled flower.

The 'frame' is made up using a polka dot patterned paper from Primary Basics scrapbook paper collection.
I have added a little punched daisy flower made from a daisy craft punch with a rhinestone for that teeny weeney hint of bling (I seem to love a blingy effect on my creations! :P).
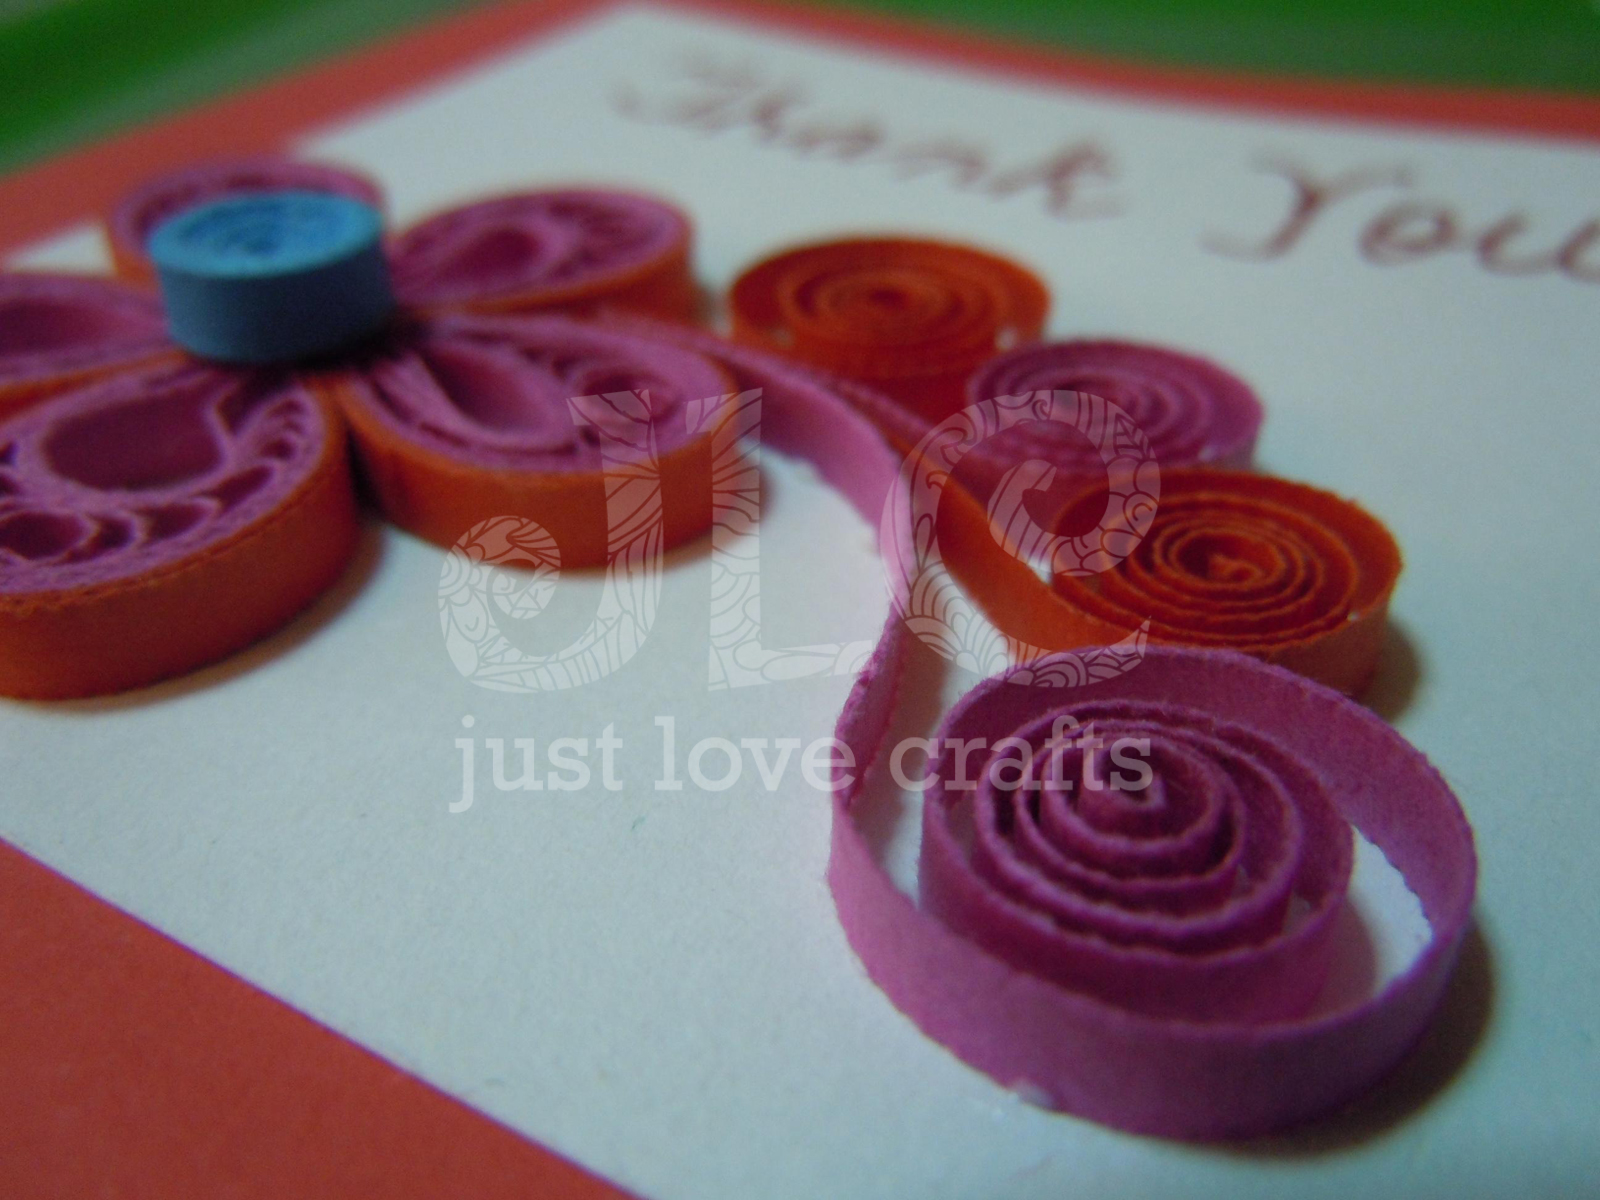
Here is a close up of my quilled flower. You can see a hint of bling here too :P. The flower has protected it well enough by the faux glass frame made from an acrylic sheet (OHP) and the patterned paper.
Simple and Effective??

Hope you like it. I will be uploading more shadow box frame designs with quilling inside. Keep checking the blog.

Linking it to the following challenges - 
1. Do More with Less 
2. Lulupu - The craft Lounge
Thanks all,
Just Love Crafts xx

Thursday, May 31, 2012

A small Thank you card!!

Hey everyone,

I am back again right in the morning to post about this small cute card I made 2 weeks ago to express our 'Thanks' to a friend for his kind invitation. :D
More or less, since I have come to Singapore, I doubt I have left any occasion without adorning it with my quilled and crafty creations. So here it goes-
 This card has been made within 10 minutes and I am patting myself for that..NO No! not coz I made the 'entire' card in 10 minutes, but because I have kept a bunch of pre made flowers with me which I make every now and then and which come very handy whenever I have to conjure a quick card. 
So really, this card was made with the help of my already made flower motif. 
 These ascending swirls were totally a last minute addition. I had earlier planned to stick the flower and write 'Thank you very much' in the remaining space, but don't know what clicked in my head that I added this bunch of swirls and I totally loved the effect it gave to the entire setting..^_^
I am sure someone who has read my previous posts must have noticed the use of these 3 colors 'only' before as well. As I earlier mentioned, I had shredded like these 3 colors and wanted to use them a bit before stocking more color strips and so only 3 colors have been used so far.
Its not very fancy or bold and big but serves the purpose well enough..:D


Thank you for looking and as always, your comments are always welcome.

Just Love Crafts xx

A very orangy birthday card!!

Hello all lovely people,


Today I am bringing you my first card which I made after coming to Singapore. The card is now with my husband's colleague, a very lovely American girl who absolutely loved the card and that is I believe is the most important thing, appreciation of the receiver..Ryt!!!


However, the flower used in the card was pre-made. I made it in India while I was waiting for my visa to get approved and I can be united with my hubby. :)


Don't have many pics, but whatever I took on and off, I am posting here..
 I used 3 varying colors of yellow and orange and joined them together.  
 The resulting flower.
 The flower was lying with me for almost 2 months when I thought of this card and I was pleased with the result. The colors were of course much brighter and prettier than what camera could capture.
I love the effect silver pen has on black background. I guess I'll use this style more often. :D
Anyways, I didn't write much for this flower as I am way too sleepy. I was literally falling over laptop while writing but had to finish this. Please do leave me your valuable comments/ suggestions. Its much needed.. :D


Love,
Just Love Crafts xx

Sunday, November 6, 2011

Story of a "Giant Flower" :P

Hola!
Today I am sharing something new with you, as in not something I made previously but something I made yesterday. Well, I precisely started with creating simple spiral roses. Basically I made them for a special friend :)


But I found them too bland, so I thought of adding some sparkle to it...I tried it for the very FIRST time...and was quite scared of the results, but its fun to experiment and then marveling at ur mistakes and make more experiments....and getting something you finally like...:P
This is what it looks like after adding a bit of *Sparkle*..I am happy with the result as they are quite noticeable from the simple flowers at the same time there is a bit of an extra dimension which seems to be added on to them with use of this glitter.....


But....... But....... But..... this post is about some "Giant" flowers and they dont look much giantish....so, i'll show you something which I made and used these spiral flowers on it...
So I used something which have been lying in my cupboard for almost 6 months now and havent got a chance to be used...
And that is my Scalloped heart punch...
I punched out some quick hearts, of the same paper, embossed the edges and assembled them as a flower... Finally I just stuck a spiral rose to make a center and this is the result...


This flower is made in 2 layers with third as the center...


this is quite big, I tried picturing it by taking it in my palm, but it didnt fit really...:P


I am yet to use this Giant flower in a project as I was too eager to show you all...:P But as soon as I come up with something, I'll surely share it as well...so far it can be used on cards, scrapbooks, as a stand alone embellishment or room decor as well...I am sure the possibilities are endless....
And I am sure all you lovely crafters must have figured out a way already to use this...Please do share with me in your valuable comments, the possible uses of this flower...I would love to and in fact will try to try all of them.....
Do let me know if you like it...I will be back soon with more posts and pictures...:))


Just Love Crafts xx

Thursday, November 3, 2011

My first Crafty Post :D

Hey all my crafty buds,


As promised, I bring to you my first crafty post.. Now though blogging is something I have started now only, but crafting I have been doing before also...so I'll start with sharing something I have already done...and each one of it is really special to my heart...hope you enjoy looking at them... :)


Though I got to know about quilling like 3 years back...I just made one card at that time which you can see here. Pardon the picture quality..at that time I just had my mobile phone cam which was 1.3 megapixels... :P


I left it for like almost 2 years and reverted back to it while I was studying in London and needed some creativity to keep me alive there...


This is what I started with- 


I ordered some quilling strips from Amazon and luckily!! I was carrying a quilling tool which my sister gifted me almost one year back. This is what I had in total then... Looks pretty na!! And that is how i made this flower just playing around with my newly arrived package....


Further on, I started to dig information online on quilling and the variety of crafts that can be made, and I found Miniature Quilling very interesting...that was something I never tried my hands on as well, and so I was desperate to try some...here is the result..


I included the penny coin in the picture just to show the comparison of the size of these miniatures. I made all of them in one sitting and simply coated them with PVA glue and they are still with me and in the very same condition....


i know that the size of the teapot is a bit small and the cups look giant-size in front of it!! but they were soo adorable and whoever saw them didnt mind so I just let it be...Also I almost ran out of orange strips too....:P 


And finally a third kind I made around the same time is this cute picture frame cum card-


I had found such cards for 10 p each at Hobbycraft stores in UK at the clearance section and I didn't even know what I am going to do with them when I bought...:P but i guess we all do the same at some point.... Crafting is awesome... 


I tried my hands at some more varieties of paper crafts which I will share very soon in my further posts.... right now my eyes are falling badly....:O


Good night friends!!


Just Love Crafts xx


Similar Posts

Related Posts Plugin for WordPress, Blogger...